
Max Battles are in their second month, and we have our second Tier 3 Max Battle Boss, Falinks! The difficulty jump between Tier 1 and Tier 3 Max Battles is quite substantial, so we wanted to share some of our top tips and tricks for helping you defeat them successfully. For a full how to guide on Max Battles check out our guide here.
This guide will be focused on trainers who are aiming to defeat these Tier 3 Power Spot Bosses solo.
Pick Your Team
With limited options for Dynamax Pokémon to use at present, picking the best Pokémon for your team is key. In Pokémon GO type effectiveness is a big deal, so making sure you have a Pokémon that is super effective against the Max Battle boss is essential.
Y-axis = Attacking X-axis = Defending Green circle = Super effective Red triangle = Not very effective White space = Normal effectiveness Black X = Immune
This is the official Niantic type effectiveness chart for Pokémon GO. It is key in all areas of the game that involve battling, use it wisely!
With Max Battles, you also need to carefully consider the movesets your Pokémon have. Your attacking move when your Pokémon is Dynamaxed is called Max Strike. The actual move name will vary depending on the typing, for example, a Grass type move is called Max Overgrowth. This is a special attack unique to Dynamax Pokémon, with power and type varying based on their Fast Attack type.
Ensure your Fast Attack type is super effective against your Max Battle Boss, not just your Charged Attack! Your Max Strike move does a lot more damage than your typical Charged Attack, so be sure your move is super effective!
For Tier 3 Max Battle bosses that you intend to solo, you will typically need two Pokémon that are super effective against the boss, with both fast and charged moves that are also super effective. You can of course use three Pokémon that are super effective , but another option it to use two super effective Pokémon, and one Pokémon as a buffer/tank Pokémon.
We do recommend levelling your Pokémon up at least a little so that they can take more damage, but maxing them out doesn’t seem to be necessary at present.
Using a Buffer/Tank Pokémon
One strategy that can be very helpful when taking down a tricky Max Battle boss, is to utilise a Pokémon that isn’t necessarily super effective against the boss, but will instead be used to charge your Max Meter and take damage, protecting the Pokémon you have that are super effective.
This is a great option if you haven’t gotten Pokémon that are the IVs you desire so you don’t want to invest a lot in them, but you still want to use them in the mean time to take down a Max Battle Boss.
In this situation, lead with your buffer Pokémon, using it to build up your Max Meter and take hits from the Max Battle Boss. When your Max Meter is full, you will be given a 3 second window in which to pick which Pokémon will Dynamax, switch to one of your super effective Pokémon to deal out damage with your Max Strike move. When your Dynamax turns end, switch back to your buffer Pokémon and repeat.
For example, against Falinks, I have two Metagross prepared with Psychic type Fast and Charged attacks powered up to around 3000CP, but instead of evolving a third Beldum, I have been using a 98IV Venusaur as a buffer Pokémon. I lead with it, and use it to power up my Max Meter and take the bulk of the damage from Falinks, rather than let my Metagross take damage. Once Venusaur faints I will then use the least powered up Metagross as my buffer, switching to the one with higher Max Moves for Dynamax.
Swipe, Swipe, Swipe!
Swiping is key in Max Battles! When you see the purple energy icon pop up next to your Pokémon, don’t tap on it, swipe your Pokémon into it to collect it!
Swipe your Pokémon into the energy icon to collect it
You can also swipe to dodge the Max Battle boss attacks, though this does seem a little hit or miss at present. A Max Battle has two types of attacks it can use against you, a Fast Attack and a Charged Attack. When the Max Battle boss is preparing to use a Charged Attack you will get the ‘X is preparing to attack Y’ text on screen, and your Pokémon will get a three line icon appear above your Pokémon. You need to swipe immediately for this to be effective. The lines/stripes will appear as yellow, then begin flashing and go red, when they go red the Charged Attack will hit you. You cannot dodge the Fast Attack.
Dodge icon
While dodging isn’t effective all of the time, it can work if you are quick enough. If you dodge successfully you will see a ‘Dodged’ message on screen, and you will take less damage from the Charged Attack.
Know When to Quit
Finally, the last piece of advice I have is to know when it is time to quit your battle rather than keep wasting time and resources. For example, the first time I attempted to battle Falinks I did not use a tank, and lead with my best Metagross. It fainted before it ever got to Dynamax and I realised that I was not going to win. Rather than carrying on, I exited the battle, and re-entered with the tank strategy which I was successful with.
You do not use your Max Particles until you successfully defeat the boss, so you can always attempt and fail, with the only cost being revives and potions. Even if you feel you don’t have a better team or strategy you can use, you haven’t lost any Max Particles by failing, so give it a go and you may surprise yourself!
The post Max Battles Tips & Tricks for Solo Players appeared first on Pokémon GO Hub.

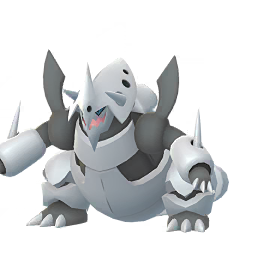 Mega Aggron
 Mega Lucario

 Mega X Mewtwo
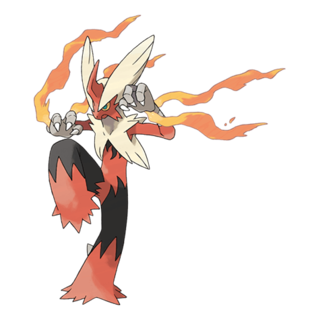 Mega Blaziken

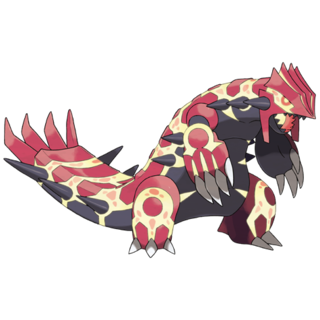 Primal Groudon

 Resolute Keldeo
 Mega Y Mewtwo
 Mega Garchomp
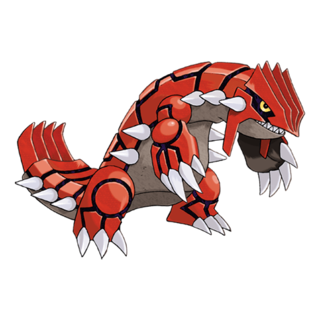 Shadow Groudon
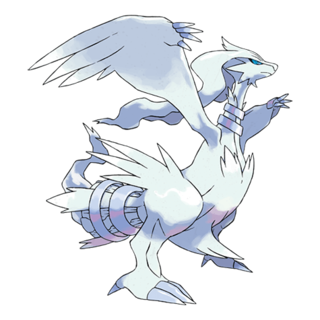 Shadow Reshiram
 Shadow Heatran
 Lucario
 Shadow Conkeldurr
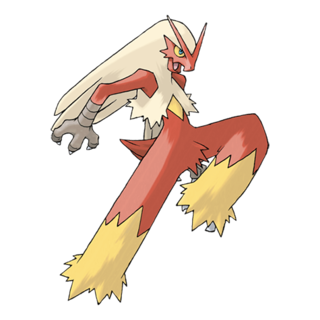 Shadow Blaziken
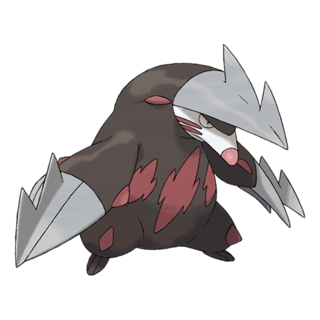 Shadow Excadrill
 Shadow Garchomp
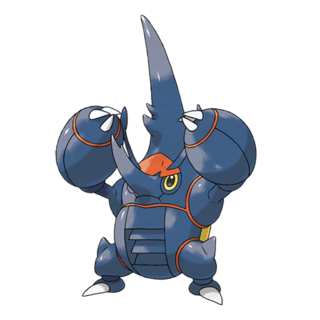 Mega Heracross
 Terrakion
 Shadow Emboar
 Therian Landorus
 Mega X Charizard
 Mega Y Charizard
 Shadow Raikou

 Ordinary Keldeo
 Shadow Machamp
 Mega Aggron
Steel
Mega Aggron
Steel


 Aggron
 Aggron
 Mega Aggron
