
Pokémon GO PvE, as we know it, has been shaken to the core with the new Raid system. The biggest takeaway from this update is that the duration of moves got adjusted to make their distribution and damage output smoother.
Before we proceed, a side note:
While the Raid facelift intentions are undoubtedly noble, Raid Bosses are spamming multiple Charged attacks in a jiffy thanks to the update helping Pokémon fire off their moves as soon as they’re charged. This is happening because the amount of charge the Boss gets from taking damage is stacking with the number of trainers present.
With so much energy charged up and overflowing that only increases with the number of trainers battling in the Raid, the Boss has multiple Charged attacks ready to go!
This has since been fixed and the Boss now has a 50% chance of using its attacks once charged.
With that being said, we will focus the crux of these changes on the most prominent Dragon type PvE moves – Dragon Tail, Outrage, and Draco Meteor.
Since Dragon Tail is the only real Dragon Fast Move in PvE, we will compare Outrage and Meteor with Dragon Tail serving as the canvas.
To begin with, let’s check out the impact of the updates on these moves.
How Dragon Tail, Outrage & Draco Meteor have changes in PvE?
The duration of all moves (Fast or Charged) is now rounded off to the nearest 0.5 multiplier.
In essence:
- Dragon Tail, earlier lasting 1.1s, now only takes 1.0s
-
Outrage, earlier 3.9s is now slower at 4.0s
-
Draco Meteor, earlier 3.6s is now faster at 3.5s
In the midst of all this, keep in mind:
- Charged Move now fires off as soon as it has the energy required
-
The concept of ‘damage window’ no longer exists. The Charged Move starts animating as soon as it’s charged up and deals damage at the end of the duration
Outrage, meet Draco Meteor. Draco Meteor, meet Outrage – Dragon Tail
In the new PvE era:
- Dragon Tail boasts: 15 damage, 9 energy gain, 1s duration, 15 DPS, and 9 EPS
-
Outrage costs 50 energy (2-bar) and deals 110 damage. Duration is 4s
-
Draco Meteor costs 100 energy (1-bar) and deals 150 damage. Duration is 3.5s
Note: DPS is Damage Per Second and EPS is Energy Per Second
With all numbers set in stone, let’s calculate how hard each move ends up hitting. We will, for now, assume a Dragon type that learns all three moves. Salamence? Dragonite? Pick any!
Since Outrage is a 2-bar move and Draco Meteor is a 1-bar move, we will calculate each of their performances (paired with Dragon Tail) across 100 energy. So, assume this Dragon type using two Outrage and one Draco Meteor.
Dragon Tail + Outrage
Outrage costs 50 energy and Dragon Tail has an EPS of 9.
Time taken to generate energy with Dragon Tail for Outrage = 50/9 = 5.55s
Time taken to perform Outrage = 4s
Total time for Dragon Tail(s) + 1x Outrage = 5.55 + 4 = 9.55s
Since Outrage is a 2-bar move, multiply by 2. So, 9.55*2 = 19.1s
In these 19.1 seconds, there will be two Outrage (4s) used, and they will take up 4*2 = 8s
In other words, in 19.1s:
8s (Outrage) + remaining 11.1s (Dragon Tail)
Dragon Tail’s damage in those 11.1 seconds = 11.1*(15 DPS) = 166.5 damage
Total damage in 19.1s = 220 (Outrage) + 166.5 (Dragon Tail) = 386.5 damage
Let’s check out Draco Meteor.
Dragon Tail + Draco Meteor
Draco Meteor costs 100 energy and Dragon Tail has an EPS of 9.
Time taken to generate energy with Dragon Tail for Draco Meteor = 100/9 = 11.11s
Time taken to perform Draco Meteor= 3.5s
Total time for Dragon Tail(s) + 1x Draco Meteor = 11.11 + 3.5 = 14.61s
We have set 19.1s as a benchmark to compare Outrage and Draco Meteor. A Draco Meteor is delivered at 14.61 seconds, so we can safely assume that there won’t be another one in the remaining 4.49 seconds of our ‘test’
As such, in 19.1s:
3.5s (Draco Meteor) + remaining 15.6s (Dragon Tail)
Dragon Tail’s damage in those 15.6 seconds = 15.6*(15 DPS) = 234 damage
Total damage in 19.1s = 150 (Draco Meteor) + 234 (Dragon Tail) = 384 damage
Summing up, Outrage gives 386.5 damage and Draco Meteor gives 384 damage. So, Outrage is clearly better, right?
Not yet. This damage is pure numbers that ignore any conditions.
You see, we have another close-to-realitic parameter in Pokémon GO called Cycle DPS.
Outrage vs Draco Meteor – Cycle DPS
As mentioned in GO Hub’s comprehensive guide to all you need to know, cycle DPS is a worthy parameter to determine the strength of a move as it takes more variables into account.
The perk of cycle DPS is that it compensates for energy drain and attack duration in a set combat situation
Its formula is:
D is damage, P is power, E is energy, T is time, and FD is the duration of Fast Move. The c and f stand for charged and fast. The cycle DPS gives a better result as it includes how Charged Moves are affected by Fast Moves with regard to energy.
Although very indicative of a move’s performance, the challenge previously was the fact that its formula assumes that the fast move is used constantly and charged move immediately when it is ready.
But, guess what? The new Raid system is in sync with this assumption!
It also compensates for energy drain and attack duration in those cycles.
Since both Outrage and Draco Meteor dish out similar damage figures in the long run, the cycle DPS would help ascertain which Dragon type Charged Move is better in the long run.
Cycle DPS (Outrage)
Cycle DPS (Outrage) = [110 + (15(50/9))] / [4 + (1(50/9))] = 20.24
Cycle DPS (Draco Meteor)
Cycle DPS (Outrage) = [150 + (15(100/9))] / [3.5 + (1(100/9))] = 21.67
So, Draco Meteor (21.67) has a better cycle DPS than Outrage (20.24)
With a faster Dragon Tail, less energy wastage, and Charged Moves consuming energy right at its start, Draco Meteor ends up being better overall.
Using Salamence & Dragonite
Should you use an Elite Charge TM for Dragonite to learn Draco Meteor? And should you forego Outrage for Draco Meteor in Salamence? Maybe for their Shadow veresions?
While the 1.2x boost to the offenses of Shadow Pokémon makes them more threatening with Draco Meteor, the 0.83x nerf to bulk makes the cheaper Outrage more consistent. Of course, if you excel in using them, you can technically dish out more raw damage with Draco Meteor.
That said, Draco Meteor is better suited to Shadow Salamence. The extra bulk packed in this aerodynamic machine is justified enough to make Draco Meteor work. On that note, the same can be applied to regular Dragonite as well.
To conclude, Mega Rayquaza, Palkia Origin (with Spacial Rend), and the eventual Black Kyurem are going to be your top dragons. But, you can switch your Outrage Mega Salamence and Dragonite to Draco Meteor to annihilate your targets some more dangerously.
Dracarys.
The post Pokémon GO Math: Why Draco Meteor is now better than Outrage in PvE appeared first on Pokémon GO Hub.

 Mega Aggron
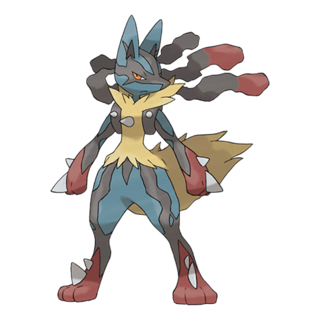 Mega Lucario

 Mega X Mewtwo
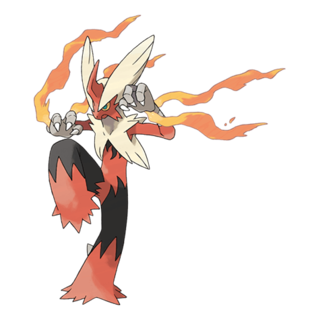 Mega Blaziken

 Primal Groudon

 Resolute Keldeo
 Mega Y Mewtwo
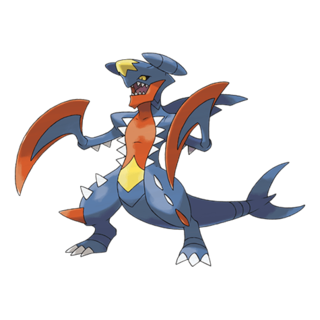 Mega Garchomp
 Shadow Groudon
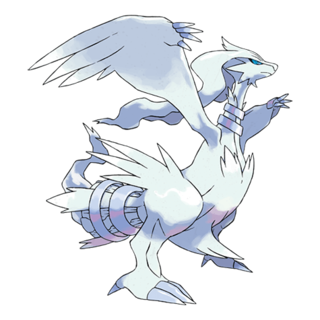 Shadow Reshiram
 Shadow Heatran
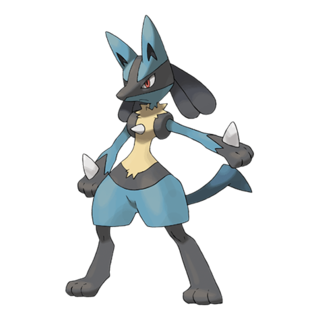 Lucario
 Shadow Conkeldurr
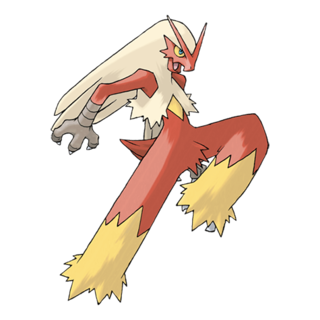 Shadow Blaziken
 Shadow Excadrill
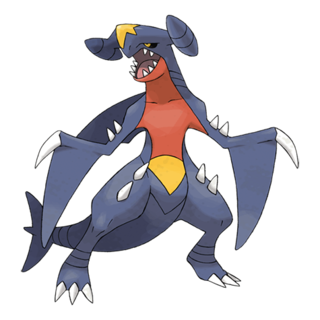 Shadow Garchomp
 Mega Heracross
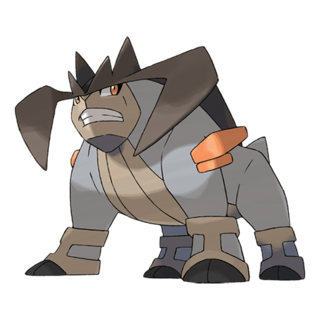 Terrakion
 Shadow Emboar
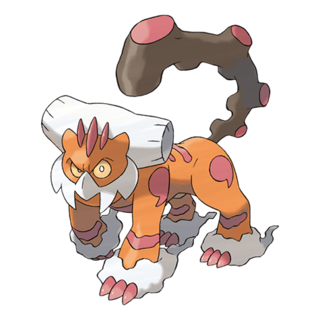 Therian Landorus
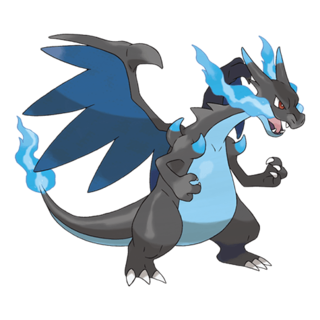 Mega X Charizard
 Mega Y Charizard
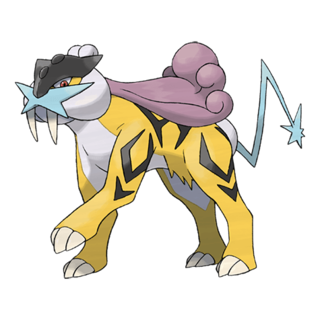 Shadow Raikou

 Ordinary Keldeo
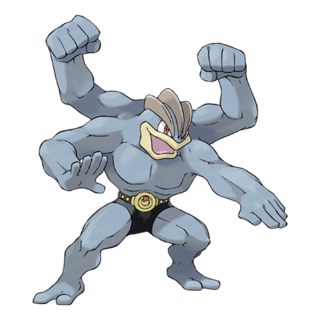 Shadow Machamp
 Mega Aggron
Steel
Mega Aggron
Steel


 Aggron
 Aggron
 Mega Aggron
